Adding Event Subscription
In this part of the tutorial, we want to add the ability to subscribe to an Event published through the Event Service and display the results. We will be using the esw-shell utility to publish a SystemEvent every 2 seconds to the Event Service.
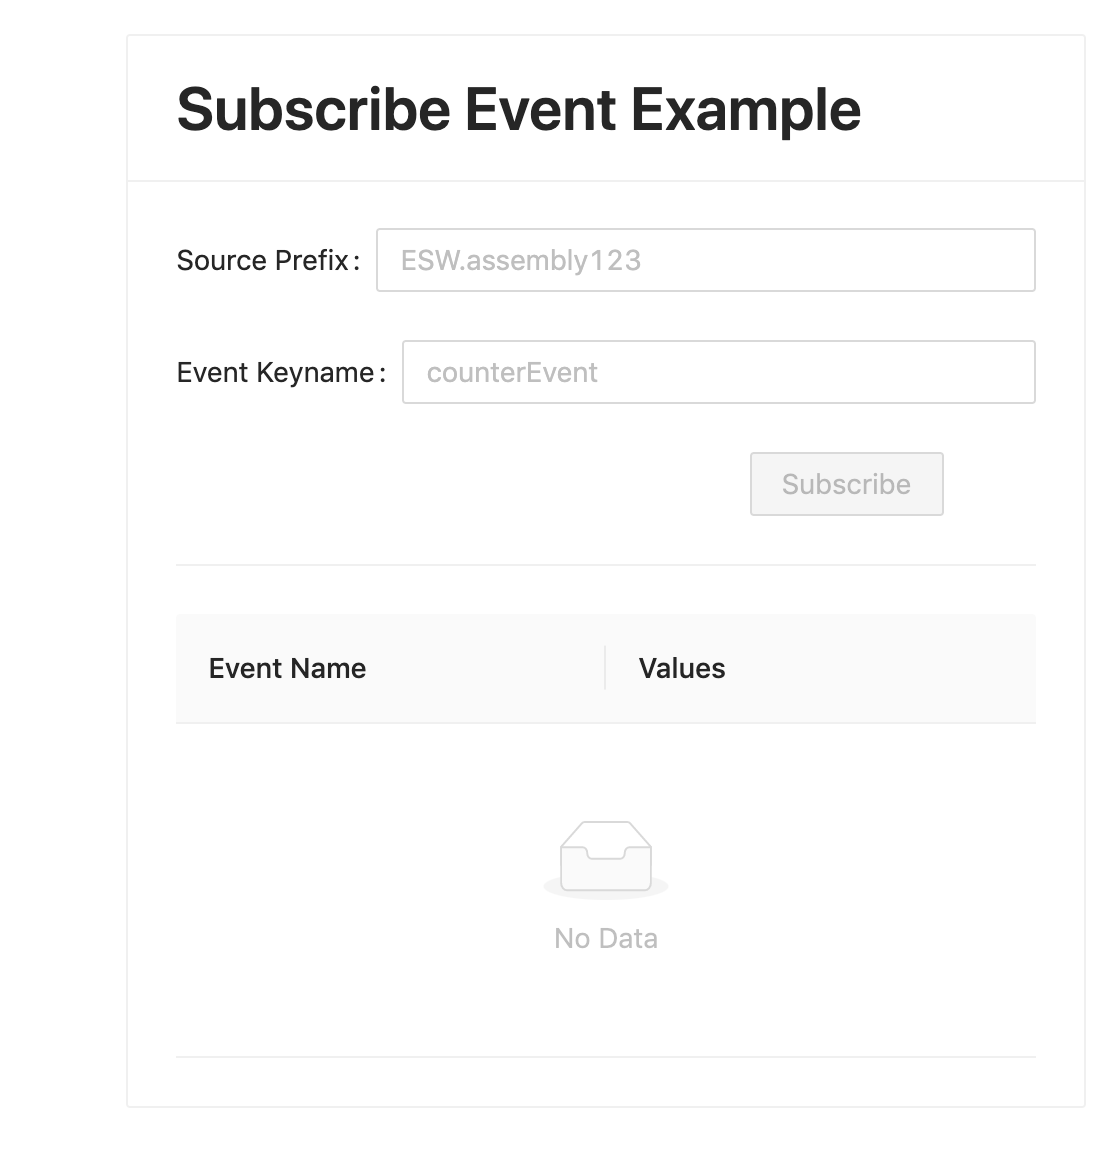
This section of the app will display a form at the top to specify which event to subscribe to and a table below it showing a list of received values.
Visit here to learn more about events.
Add a Subscribe Event Component
Create a SubscribeEvent.tsx file in src/components folder.
In this tutorial, we will build up the SubscribeEvent component gradually.
You can refer the source code of the completed application at any point in the course of this tutorial. You can find it here
Start with the following code, which defines the component, enables authorization, and creates a base Card component to put our other components in.
- Typescript
-
source
export const SubscribeEvent = ({ _eventService }: { _eventService?: EventService }): React.JSX.Element => { const { auth } = useAuth() const authData = { tokenFactory: () => auth?.token() } return ( <Card style={{ maxWidth: '30rem', maxHeight: '45rem' }} title={ <Typography.Title level={2}>Subscribe Event Example</Typography.Title> }> </Card> ) }
Next, we will add a form to take input from the user.
Add the following in the SubscribeEvent component inside the <Card> component just below the title attribute.
- Typescript
-
source
<Form onFinish={() => { subscription ? unSubscribe() : subscribe() }}> <Form.Item label='Source Prefix'> <Input role='SourcePrefix' value={prefix} placeholder='ESW.assembly123' onChange={(e) => setPrefix(e.target.value)} /> </Form.Item> <Form.Item label='Event Keyname'> <Input role='keyName' value={keyName} placeholder='counterEvent' onChange={(e) => setKeyName(e.target.value)} /> </Form.Item> <Form.Item wrapperCol={{ offset: 16, span: 16 }}> <Button role='subscribe' onClick={() => (subscription ? unSubscribe() : subscribe())} type='primary' disabled={keyName === ''}> {subscription ? 'UnSubscribe' : 'Subscribe'} </Button> </Form.Item> </Form>
This Form includes the following items:
- SourcePrefix - A free text input box for putting Source Prefix of the desired subscription.
- Event KeyName - A free text input box for putting Event’s keyname of the desired subscription.
- Subscribe - A button for creating subscription. It gets toggled to
UnSubscribeon when the subscription is successfully started.
Next, we will add the React state hooks for storing and setting the values of these components:
Add the following snippet in the SubscribeEvent component below the authData react state, above the return statement.
- Typescript
-
source
const [prefix, setPrefix] = useState('') const [keyName, setKeyName] = useState('') const [events, setEvents] = useState<Event[]>([]) const [subscription, setSubscription] = useState<Subscription>()
The onFinish attribute of the form component specifies the method to be called when the form is submitted. We have specified this to be the subscribe method. We will implement this now.
This method makes use of the ESW-TS Event Service Typescript client which provides access to the Event Service through the Event Service routes of the Gateway. In this method, we call the subscribe API of the Event Service to create a subscription using a callback. The callback method handleEvent, defined at the top of this block, gets triggered whenever an event is received on that subscription.
We also define an unsubscribe function which cancels the subscription through the ESW-TS client.
Define these functions following the React state hooks inside component.
- Typescript
-
source
const handleEvent = (event: Event) => { if (event.eventId !== '-1') { setEvents((events) => [...events, event]) } else { message.error(`Event: ${event.eventName.name} is invalid`) } } const unSubscribe = () => { subscription?.cancel() setSubscription(undefined) } const subscribe = async () => { const eventServices = _eventService ? _eventService : await EventService(authData) const subscription = eventServices.subscribe( new Set([ new EventKey(Prefix.fromString(prefix), new EventName(keyName)) ]), 1 )(handleEvent) setSubscription(subscription) }
Now we have fully added the functionality of subscribing to an event. The events state variable maintains a list of all received events, so events received in the callback are added to this list.
We will use an Antd Table component to display the values in the event state variable.
First, we will define the columns in the table. Add the following code above the return statement:
- Typescript
-
source
const columns = [ { title: 'Event Name', dataIndex: 'eventName', render: (eventName: EventName) => eventName.name }, { title: 'Values', render: (_: string, event: Event) => { const counterParam = event.get(intKey('counter')) ?? { values: [] } return <span>{counterParam.values.join(',')}</span> } } ]
Add this final piece to our UI component below the Form component to visualize the received events.
- Typescript
-
source
<Table scroll={{ y: 240 }} pagination={false} rowKey={(e) => e.eventId} dataSource={events} columns={columns} />
At this point, make sure to add appropriate imports to the file. The should look something like this:
- Typescript
-
source
import { EventKey, EventName, EventService, intKey, Prefix } from '@tmtsoftware/esw-ts' import type { Event, Subscription } from '@tmtsoftware/esw-ts' import { Button, Card, Divider, Form, Input, message, Table, Typography } from 'antd' import React, { useState } from 'react' import { useAuth } from '../hooks/useAuth'
Integrate SubscribeEvent Component
Finally, update Main.tsx to include SubscribeEvent component.
Add the following <SubscribeEvent /> immediately after the <SubmitCommand /> component inside <div>. Update imports as needed.
- Typescript
-
source
import { SubscribeEvent } from './SubscribeEvent' export const Main = (): React.JSX.Element => { const { auth } = useAuth() if (!auth) return <div>Loading</div> const isAuthenticated = auth?.isAuthenticated() ?? false return isAuthenticated ? ( <div style={{ display: 'flex', placeContent: 'space-around', paddingTop: '2rem' }}> <SubmitCommand /> <SubscribeEvent /> </div> ) : ( <Login /> ) }
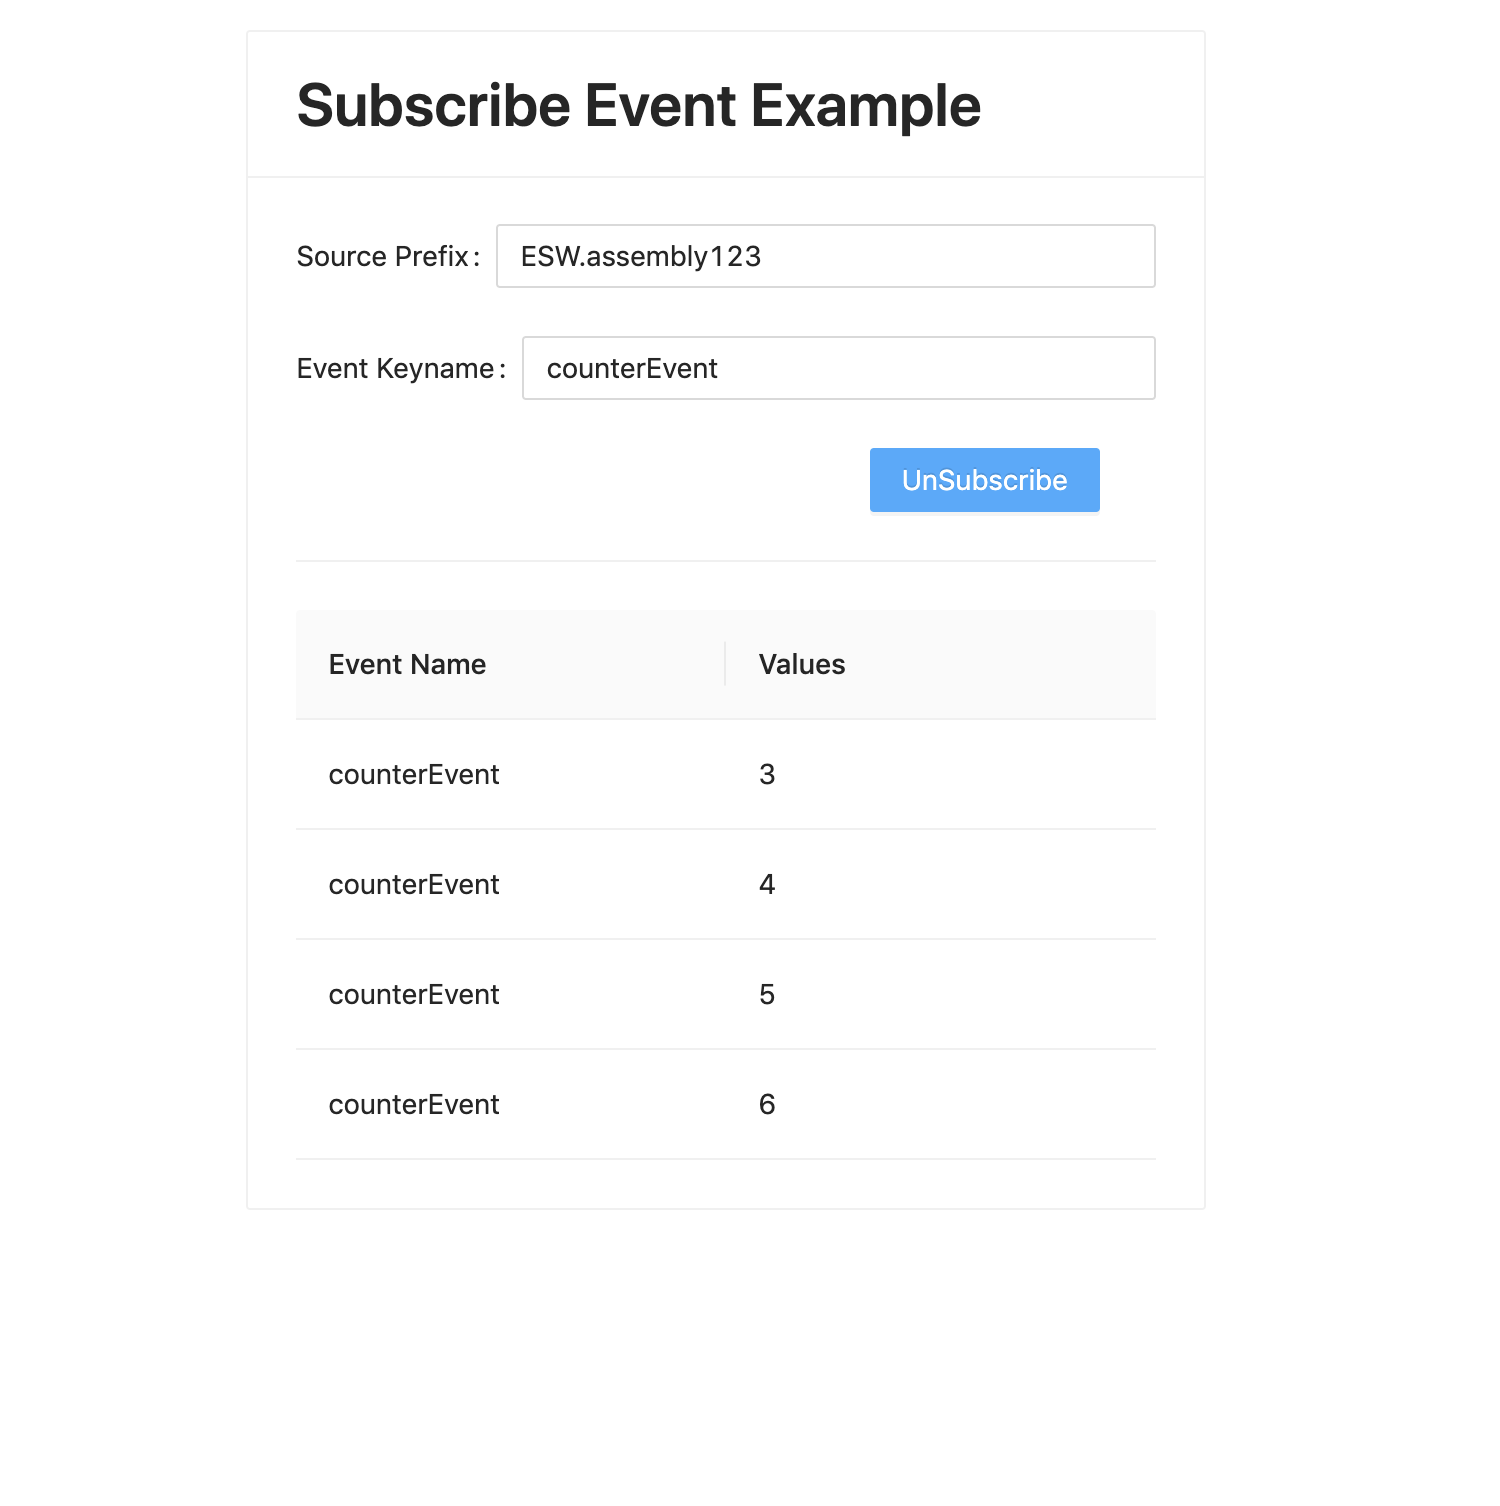
The UI should now render the following view.
Fill in the values for the input fields and hit subscribe.
Source Prefix : ESW.assembly123
Event KeyName : counterEvent
You may see an Invalid Event warning the first time you run this. This is expected because the Event has not yet been published with valid data. This can be ignored.
Now, let’s simulate a component publishing some events and see them reflected in the UI in real-time.
Publish events using esw-shell
If necessary, start the esw-shell utility.
cs install esw-shell
esw-shell start
@                 // you are inside ammonite repl now
Visit here to learn more about the esw-shell utility.
We are using the Event Service defaultPublisher API provided in the shell to publish events.
@ var counter = 0
@ def eventGenerator = Option{
    counter+=1
    SystemEvent(Prefix("ESW.assembly123"), EventName("counterEvent"), Set(IntKey.make("counter").set(counter)))
  }
@ eventService.defaultPublisher.publish(eventGenerator, 2.seconds)
This should start publishing events every 2 seconds from the source prefix ESW.assembly123.
UI should now start showing events. You may need to scroll down to see new events.